Dear all walkman fans,
from time to time I read here in various posts, how difficult it is to fix those small ultra narrow walkmans and bring them back to the specs. I must say it is not true. Most of them were designed to be serviced easily. Yes, they’re small, sometimes just little bigger than the cassette itself. But after you open them, you will see that there all is perfectly organized and parts are not that small as one could expect. From my experience, they’re much easier to fix than most bigger devices, such as boomboxes. Why? Boomboxes are made of plastics, their construction is cheap, with mix of wires, etc.
However, there are also differences among walkman brands. The easiest to service are walkmans from Sony and Panasonic. For the beginners, I would avoid playing with Aiwas. They are not made from such quality material as they seem to be (broken hinges, easy to break solenoid, leaking capacitors, etc.)
Here I would like to share my knowledge regarding fixing most common problems on all Panasonic RQ-S series and early RQ-SX series with one large belt. It can be also useful for those of you, who want to fix later RQ-SX series with two small belts, as the procedure is very similar. Most steps presented here are even the same for any walkman brands. All Panasonic RQ-S walkmans use the same mechanics, they differ only in placement of components on the main PCB.

Before you begin
– Clean the floor very carefully. You will see how useful is this tip when you loose some screw and you’ll try to find it on the floor
– Prepare your workbench. Clean your table. Leave there only the most necessary things. Here is the photo of my workbench. The items described with the blue color are necessary to have. I have much more equipment, but for fixing this walkman I will not need oscilloscope or hot-air soldering station, so I’ve left it locked elsewhere.

Now the repair itself
Clean head, capstan, pinchrollers with IPA (isopropyl alcohol)
Check for any visible defects
Insert cassette into walkman.
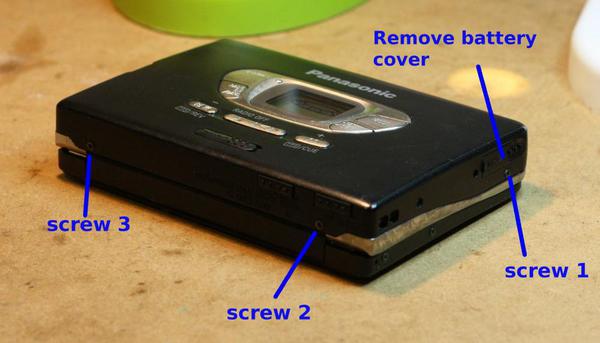
Remove the back cover of the walkman
– first you have to remove the battery cover
– second, unscrew all screws holding the back cover. Start with the screw next to the door and continue clockwise until you remove all screws. Put the screws to your organizer, exactly in the same order as you unscrewed them. Do not touch the screws holding the door.
– remove the back cover, do it very gently. If you’re not able to remove it gently, then do not use force. Better check what is wrong (forgotten screw?)


Remove the PCB
In order to do this, you have to unscrew several screws and desolder several joins (pads). Placement of screws and joins is very similar for each RQ-S / RQ-SX model.
To desolder, use desoldering station, or if you do not have one (I suppose), use simple cheap vacuum desoldering pump. Be careful not to use temperature higher than 300C, as otherwise you will destroy PCB. Do it very carefully, release all pins completely. Panasonic models, unlike Aiwas, are designed to be deslodered easily – the hole is much larger than pin, so do not worry.
You have to desolder:
– four or more motor pins (depends on the model)
– two solenoid pins
– one minus pole battery pin
– tape detection switch board with 3 or 4 pads
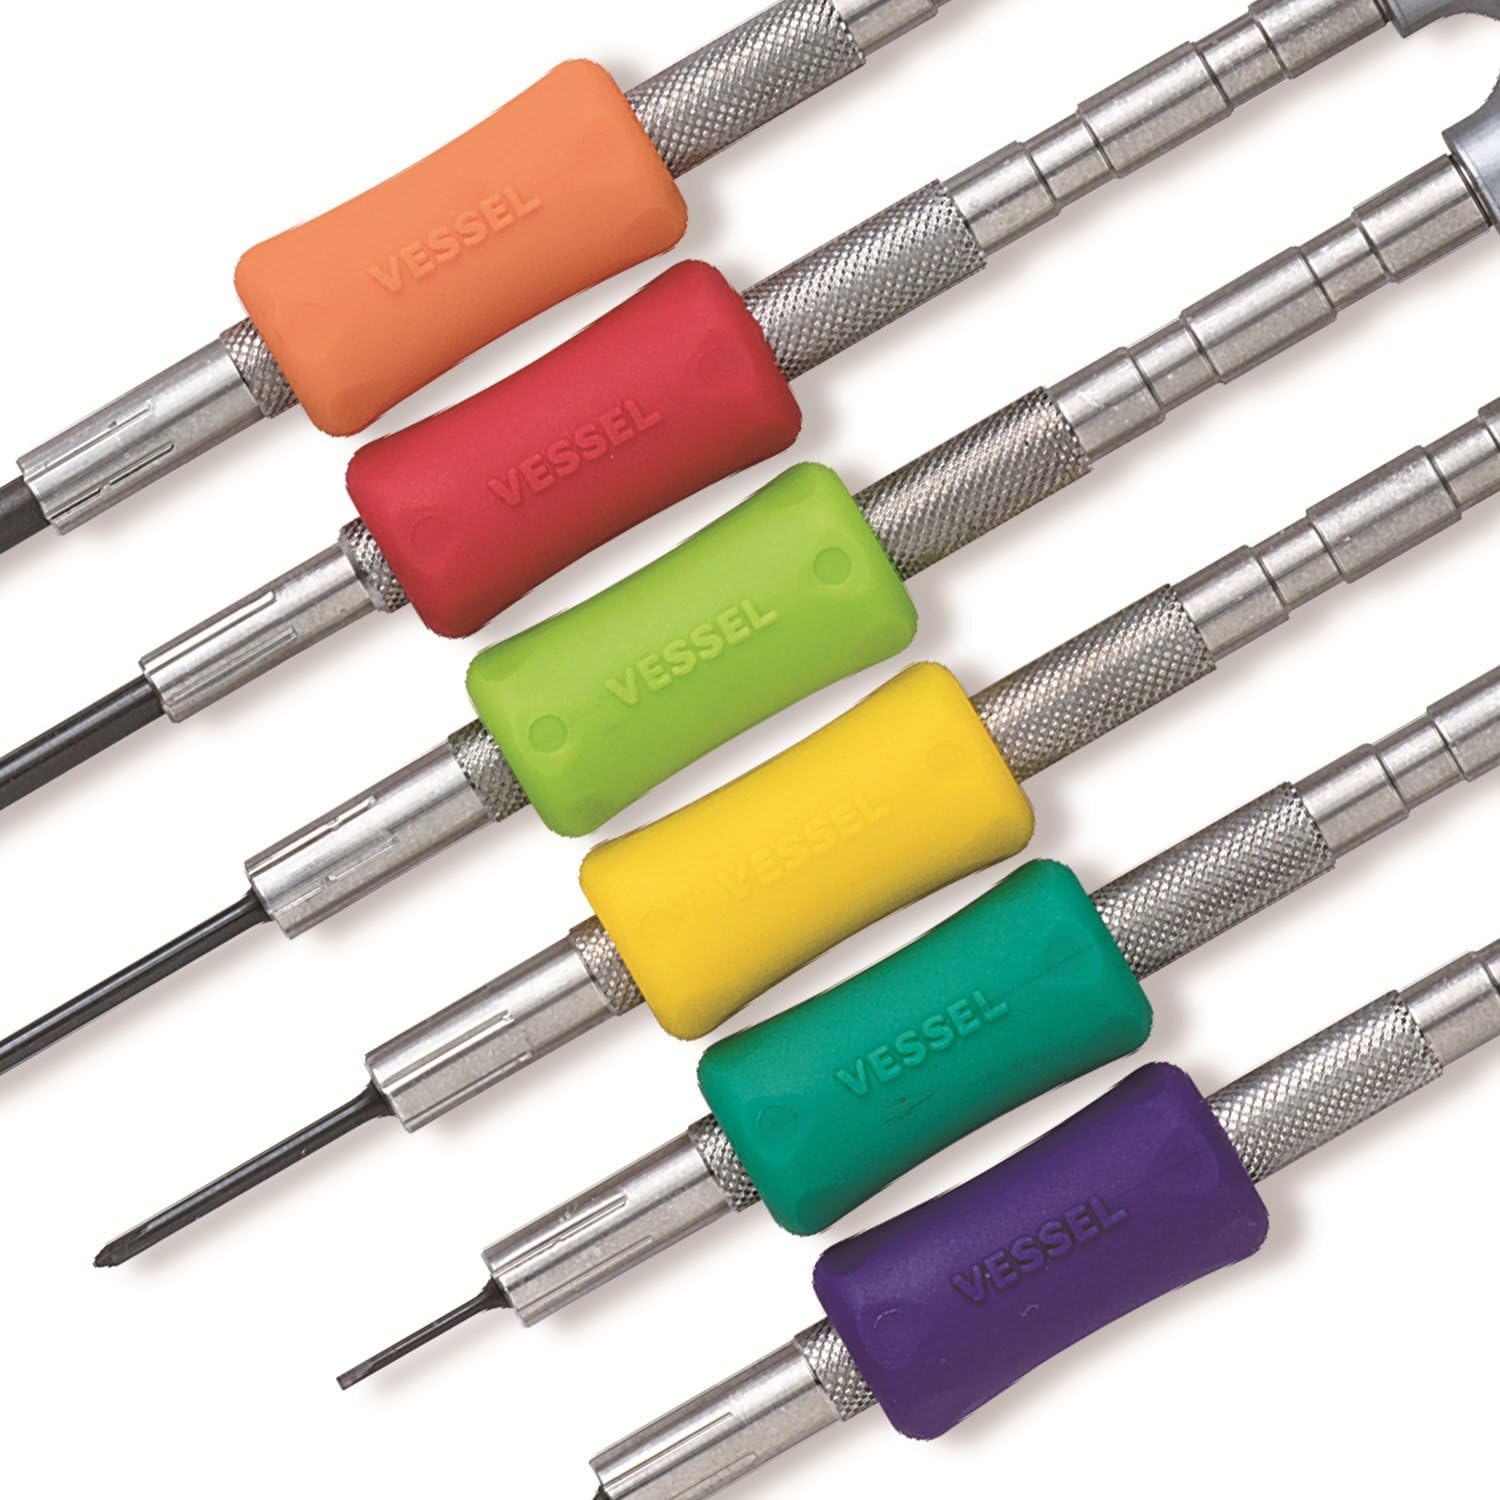
To unscrew, use precision Philips-type screwdriver. You have to unscrew 3 screws located on the main PCB. Some models have push-buttons and/or switches located on the top of the body. In this case, there is small PCB attached to the main PCB. You have to remove one or two screws to release this small PCB as well. In this case, you also have to remove plastic cover that fits on the top of the player.
Here are two examples for RQ-S50V and RQ-S80:


Remove the old belt
In order to do that, you have to dismantle the motor
– remove the useless washer (the big plastic ring) located on motor
– remove the outer part of rotor – lift it up with knife while pushing it with finger, as described on the following image

Remove the old belt
Clean all pulleys along the belt path with IPA. Do it very precisely. Use cotton and precision tweezers.

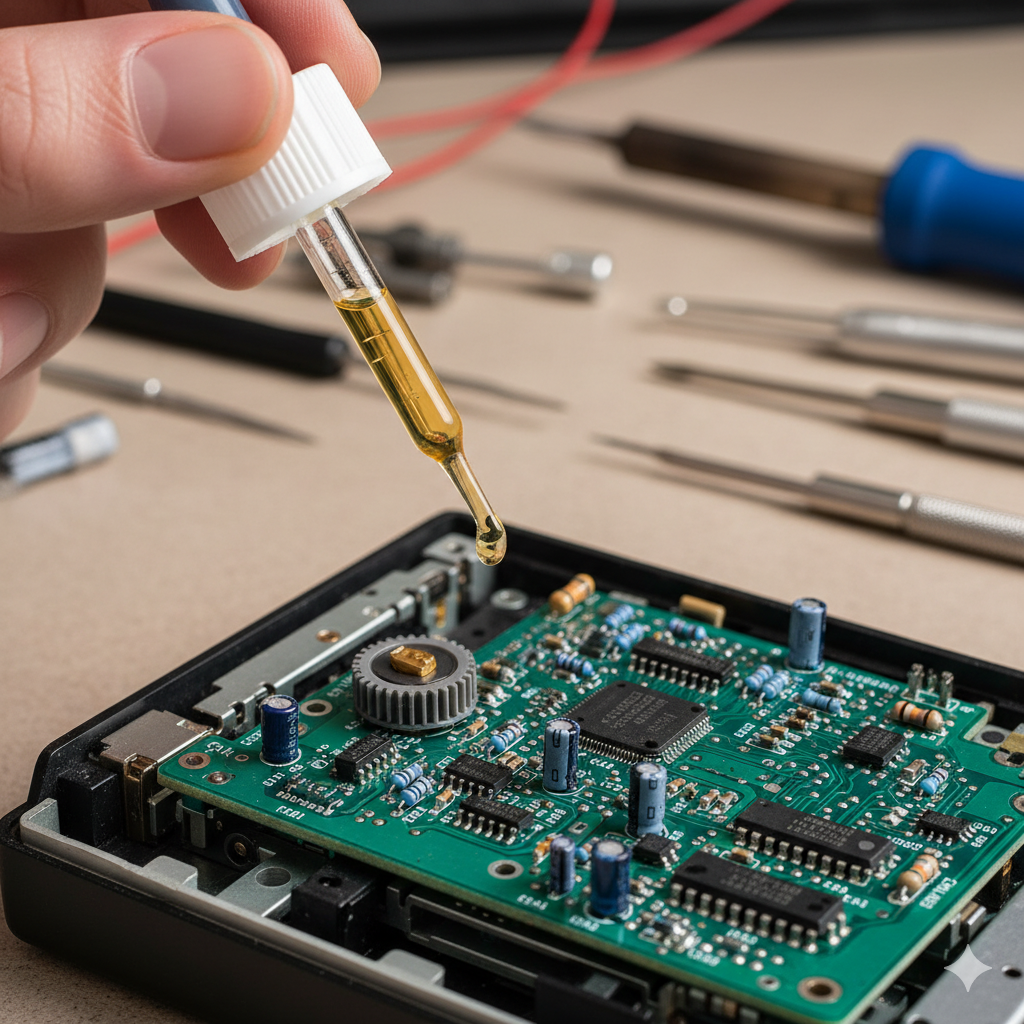
Now lubricate the motor. You have to dismantle it completely.
In order to do that, remove the three screws.

Now, apply the grease and very small drop of oil, as described on the following image

Now put everything back together, install the new belt. If you need belt, I can sell it to you cheap.
The belt size is:
Internal diameter: 65 mm
Thickness: 0.6mm
Thicker belt (0.7 or even 0.8 mm) will work, but you will be out of specs. W/F value will be higher. This ultra-narrow belt is here because it is able to better absorb vibrations caused by motor and gear movement.

Lubricate both capstan bearings
Before you install the belt, you can also clean and lubricate capstan bearings. You must remove both capstan pulleys (by removing small and tiny washers attached to the capstans – you have to remove the cassette door if you want to do that). It is not very easy task, so you can omit this.
Clean the battery contacts
Cleaning battery contacts is very important. The contacts are oxidized/sulfided, in most cases they are the reason why the walkman does not work correctly.
Clean plus battery contact:

Unscrew and clean minus battery contact:

Put it all together
Now assemble everything back in the reverse order.
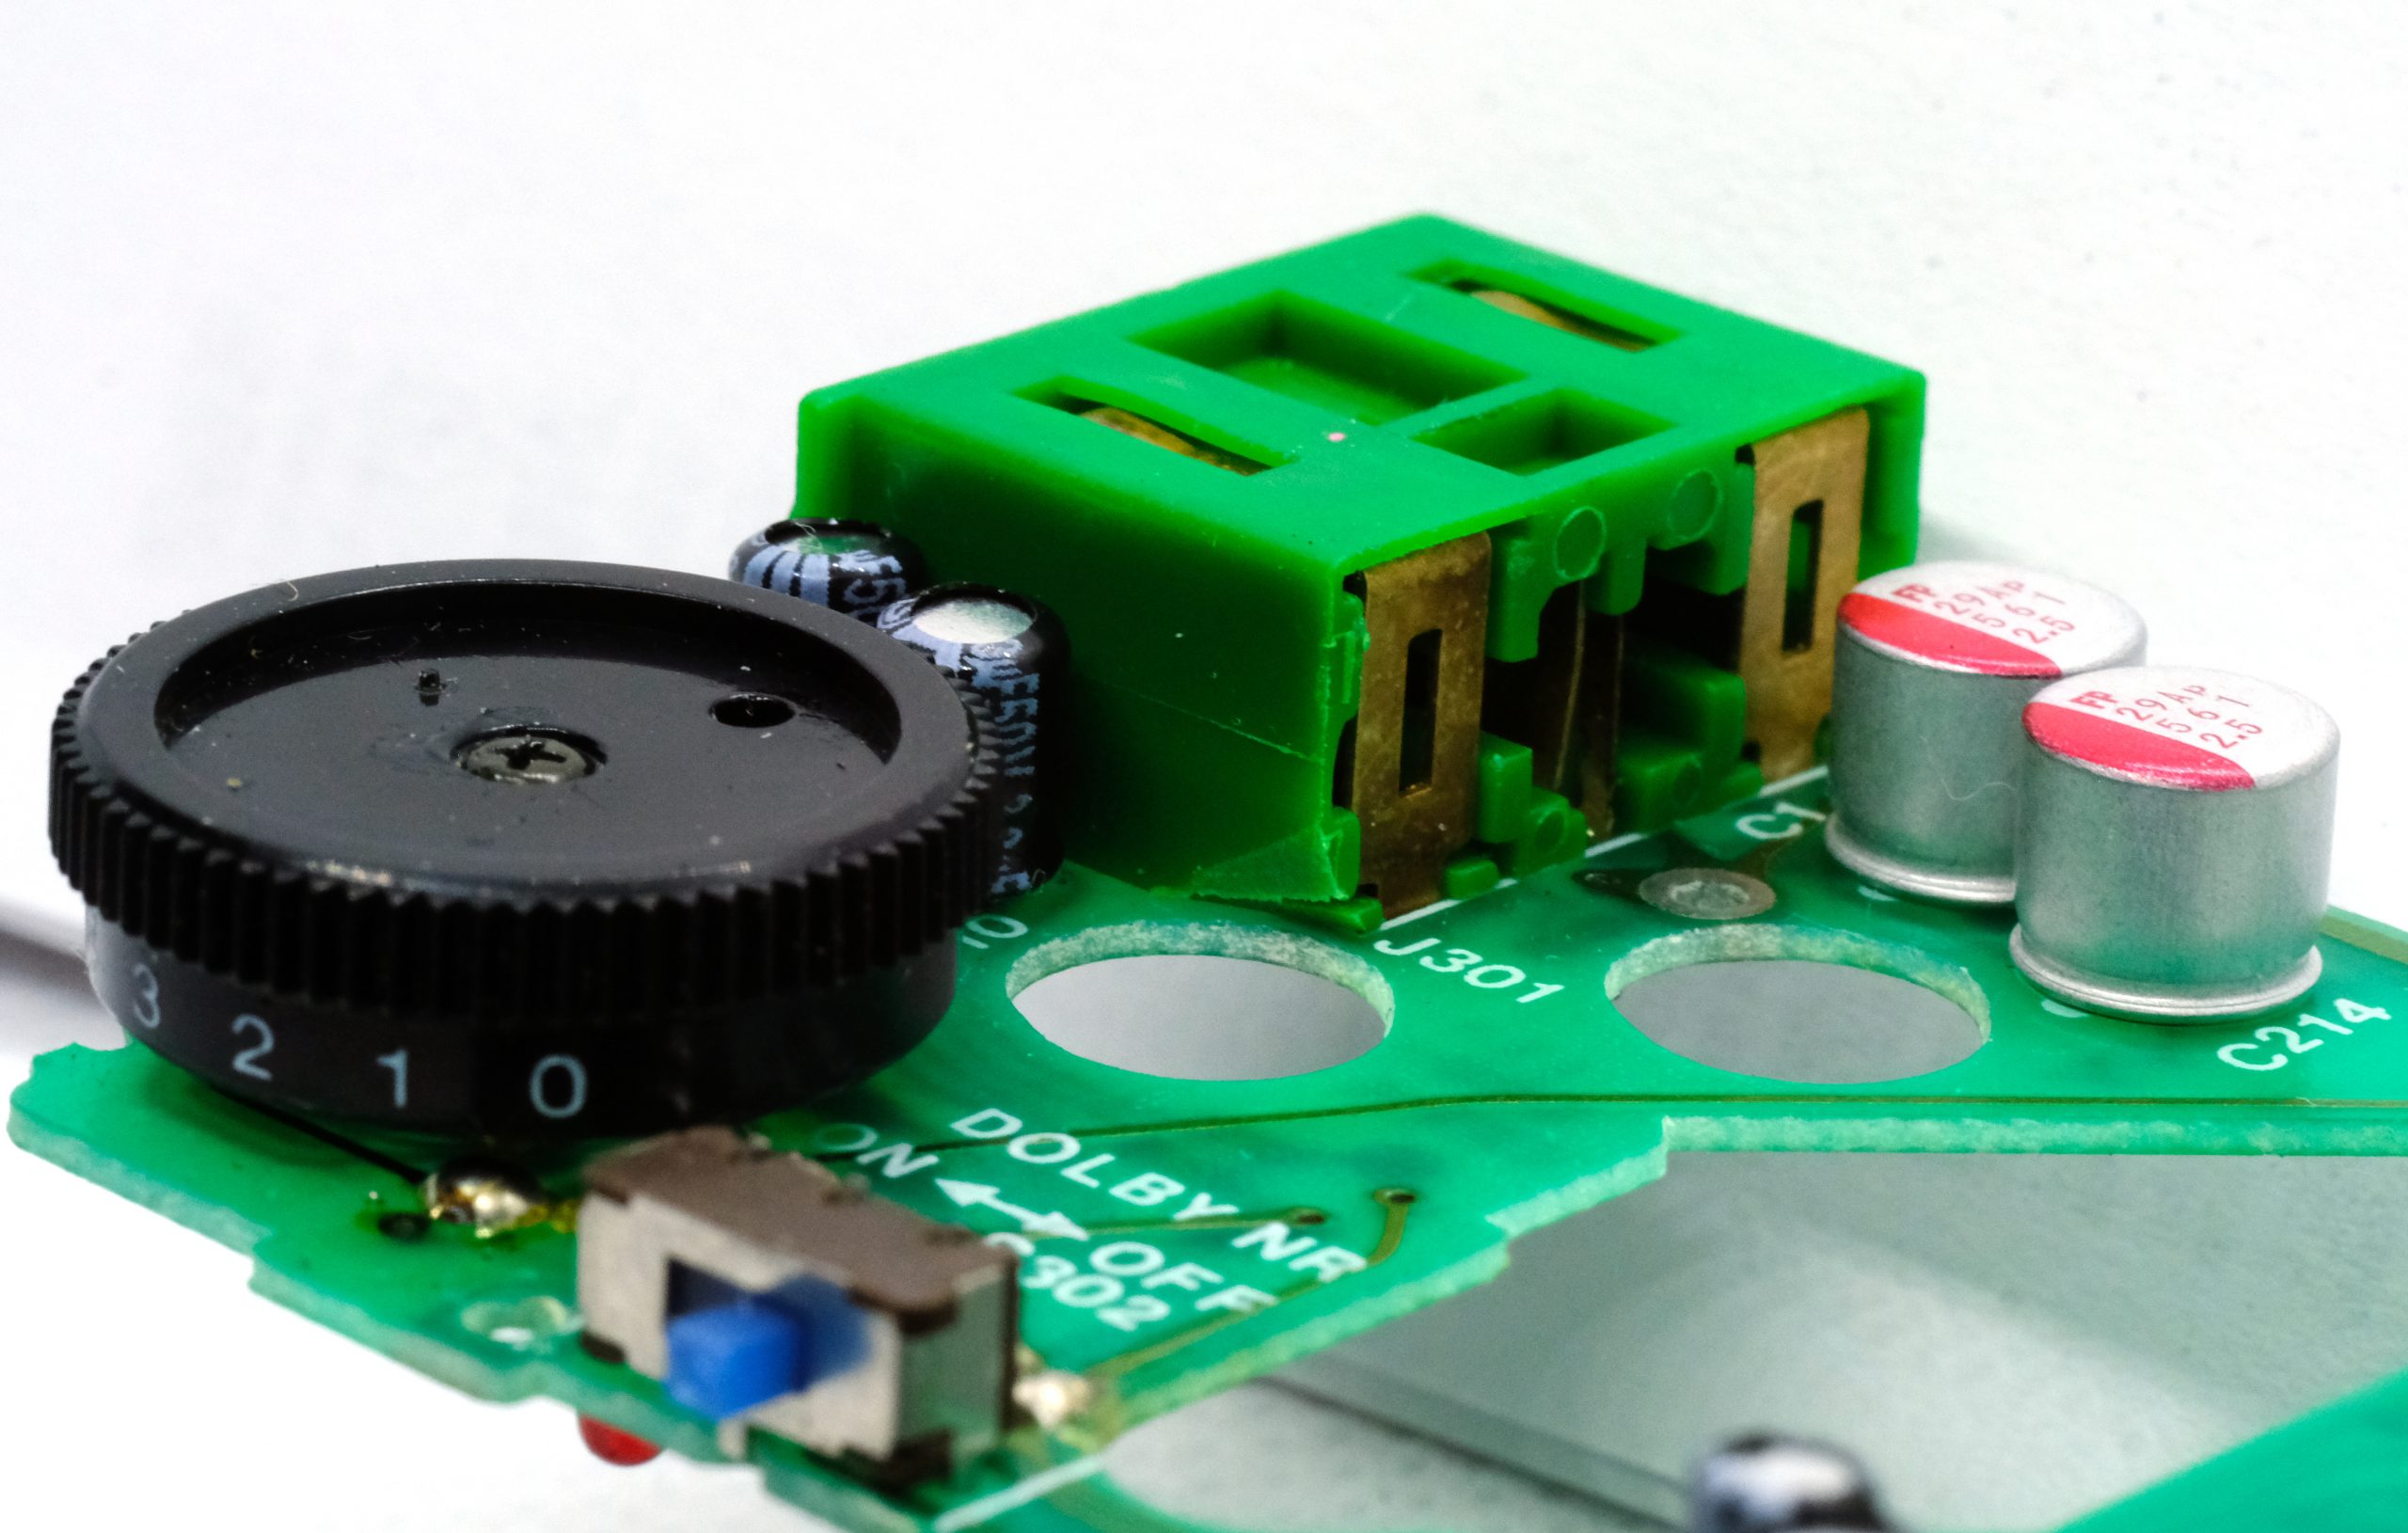
Important – the side A/B detection switch must fit to the mechanism:

Test how it works
Now put back the battery cover and install the battery. Test how it works. Check the position of the HOLD switch before you start. Do not do it under the strong light, as in this case you will confuse the optical detector and it’s logic. If all works correctly, remove the battery cover.
The final step
Install the back cover. Be careful when doing it. The sliders on the back cover must fit to the switches on PCB. If you’re the right-hander, move all switches to the left and down position. Do the same thing with sliders. Be careful, do it very gently, as they can be broken easily.
I hope this post is useful. If you have your own experience, do not hesitate to post it here.


5 Responses
“Clean the floor very carefully. You will see how useful is this tip when you loose some screw and you’ll try to find it on the floor” – I’ve smiled very widely when I read this)))
The one who repairs walkmans knows what a pain it can be… When you are searching for the small tiny part 1×2 mm or a clear washer, and after 10 minutes… or 20 minutes… you still can’t find it… and you know that you don’t have other part – it’s a such pain!!! But if you finally find it after 30 minutes of searching – at some time after the midnight)) – it can be a happiest moment of your day! (untill next dropped part). Sometimes, when I’m searching for the dropped part I find parts that were missed couple of weeks ago))
But the funniest entertainment – is a flying parts!
When you are dasassembling something and removing clear washers (especially on capstans) or detaching small springs… it can fly on 3-4 meters , in unknown direction, without a sound, without a hope…
Can you please show how to make sure the side A/B detection switch set correctly?
There is hole in the printed circuit board and switch position is visible inside this hole. Check the blue rectangle on the above picture – the position of switch is magnified there.
I have a WM-D3 that works perfectly as far as I can tell except the Play button does not stay engaged. You have to hold it down to listen to the tape. All the bat LEDs light up and the headphone output plays the music. But if you release the button, it just turns off. Any idea where I can get help on identifying what is wrong?
Marian, when you de-solder the PC board, are the pins below sticking straight up? so you can re-connect more easily?
to remove capstans for lubrication, are the small washers on the front (cassette) side of the unit?
what do you use to clean any battery corrosion? vinegar? or another contact fluid?
Thanks, I purchased a RQ-S70 for my first try of the panasonic RQ-S models.
I did find an interesting site, with photos and info on all Walkman brands: https://walkman.land/#
Also a great site with many original service manuals(including many for Panasonic!): https://freeservicemanuals.info/en/